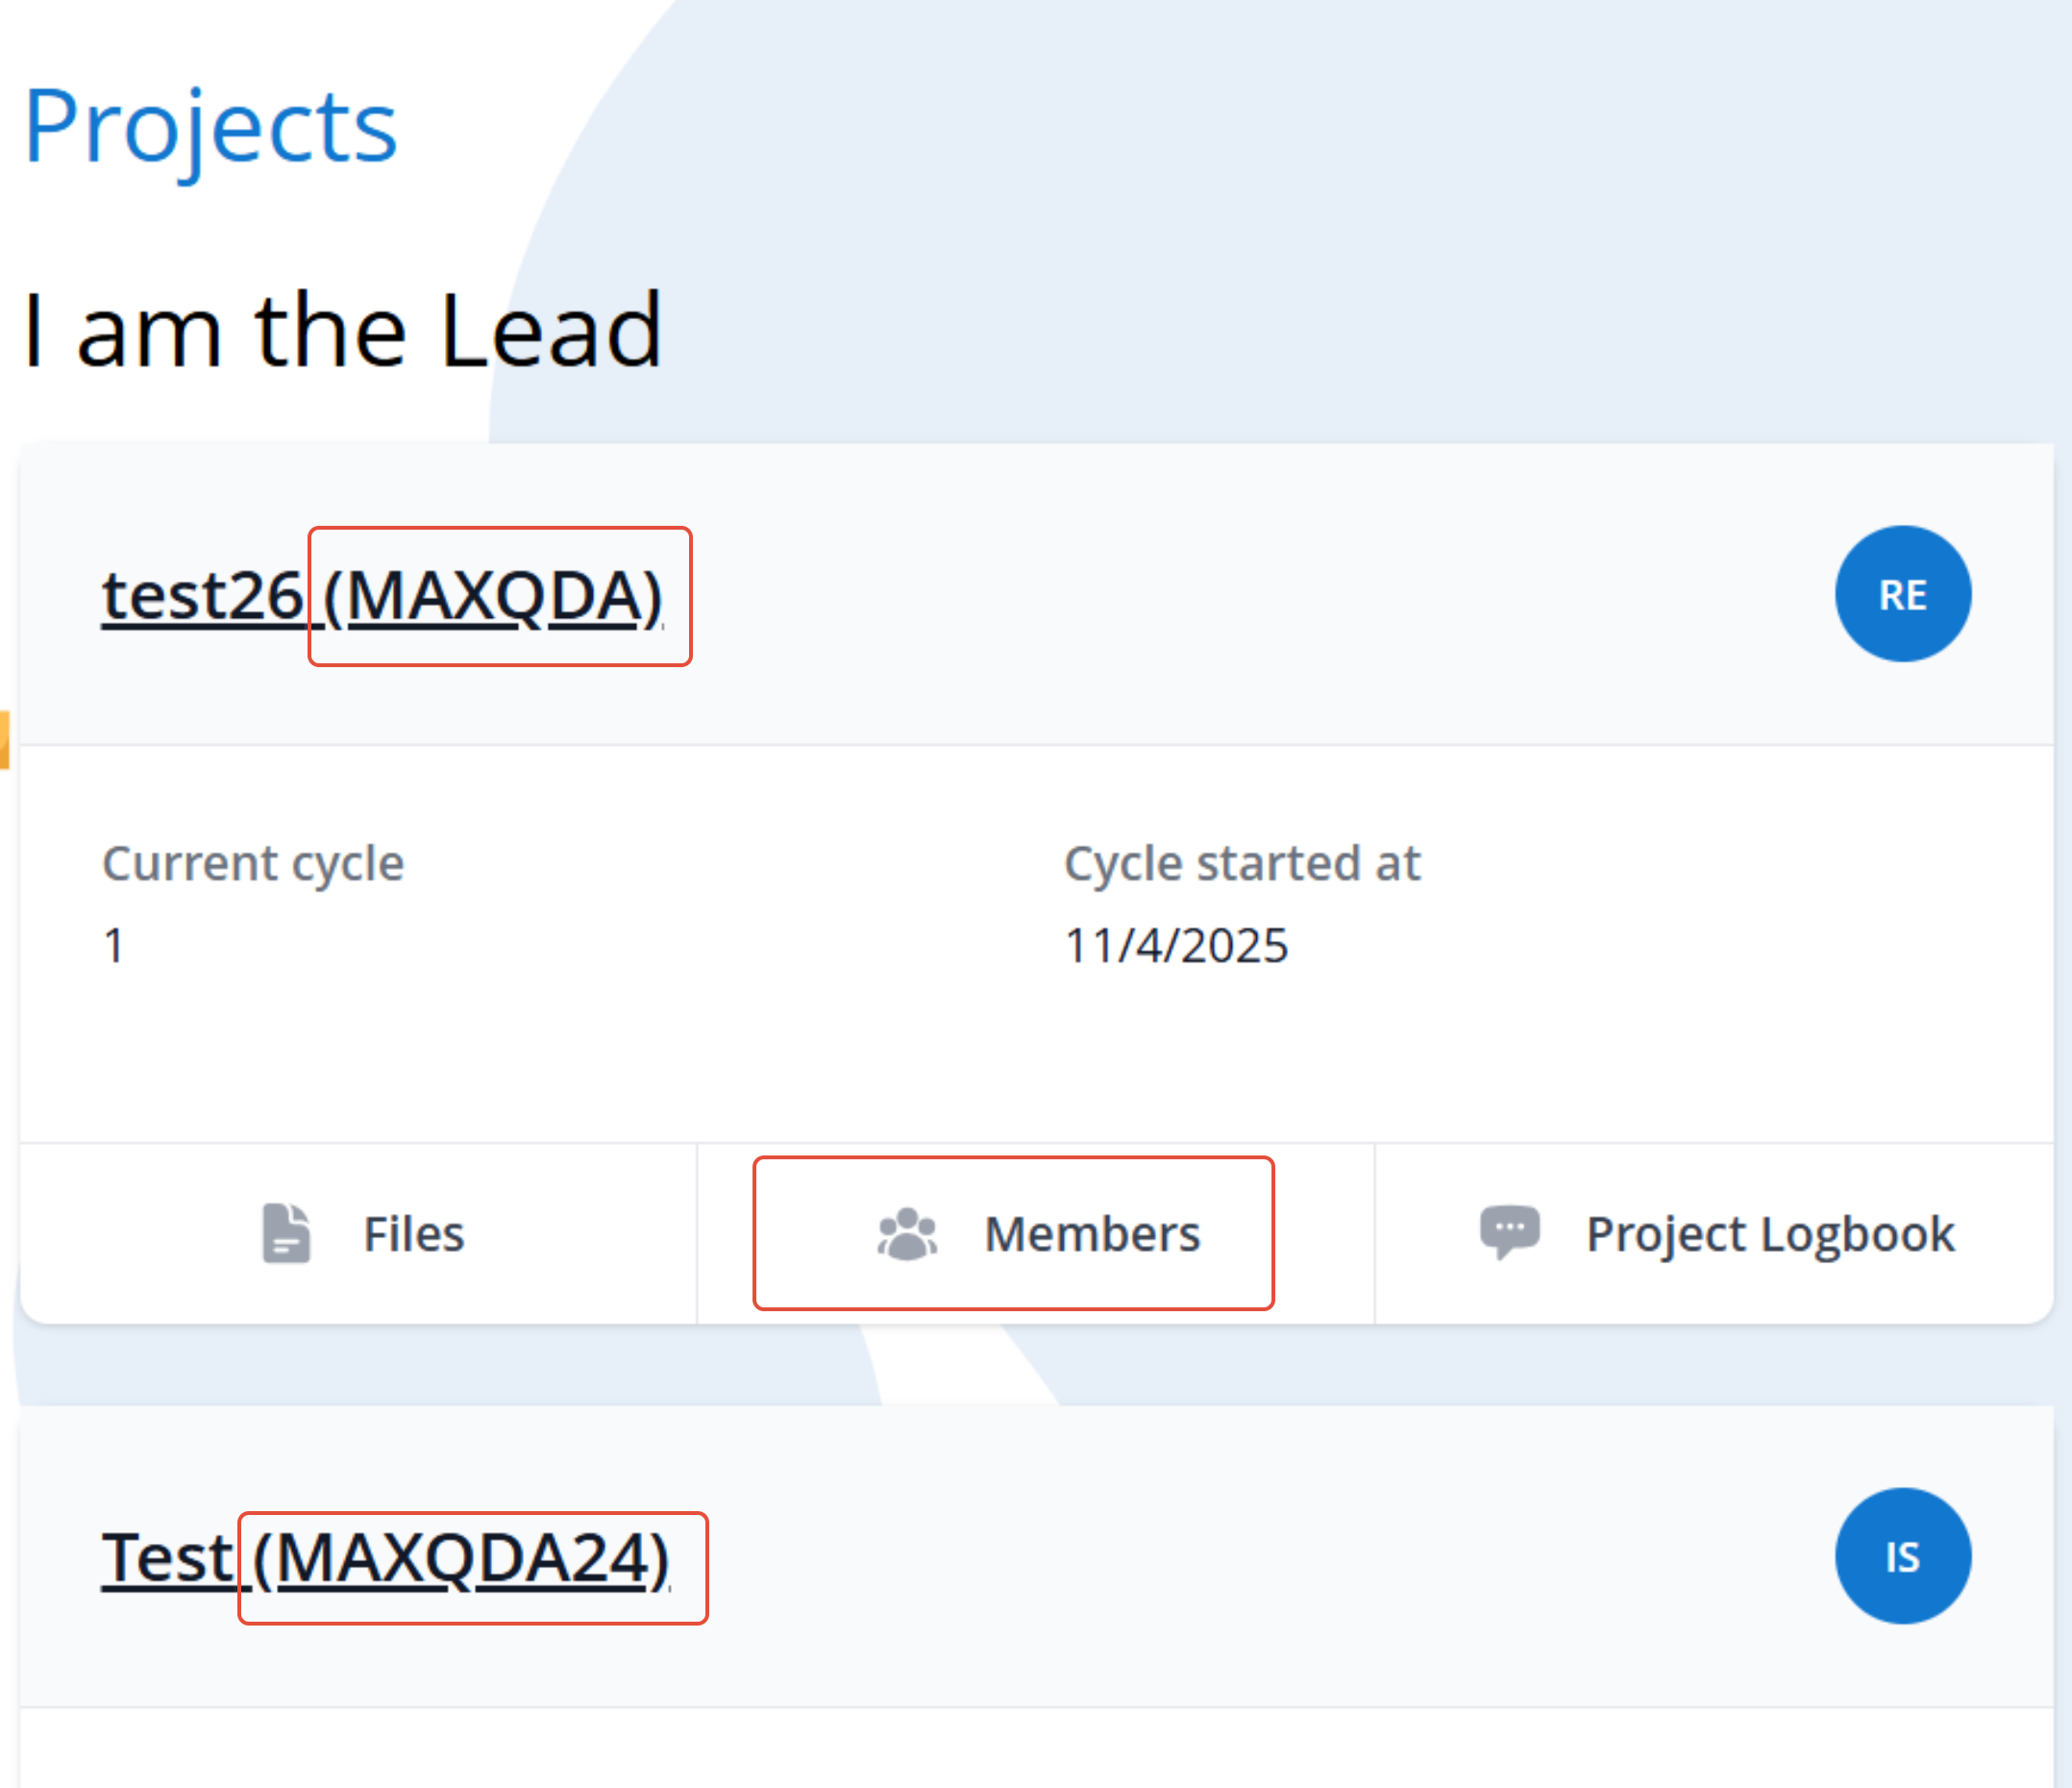
TeamCloud collaboration is only possible when all users are on the same major version.
To make a TeamCloud project, originally worked on in MAXQDA 24, available in MAXQDA version 26 or later, please follow these steps:
MAXQDA 24
Team Member:
- All team members should upload their latest work.
Team Lead:
- Open the TeamCloud project in MAXQDA 24 and import all outstanding files from team members.
- Save the TeamCloud project as a local project by selecting Export as Local Project from the TeamCloud ribbon tab. This will create a MAXQDA 24 project file with the .mx24 extension.
- Close MAXQDA 24.
MAXQDA 26
Team Lead:
- Install and launch MAXQDA 26.
- In the start window, click "Open" and select the previously exported .mx24 file. MAXQDA will convert the file into a MAXQDA project and create a project file with the .mqda extension.
- Navigate to the TeamCloud ribbon tab and select Upload Project for Team (Start Cycle 1). This will create a new TeamCloud project.

- You can then invite your team members again.

Team Member:
- Team members accept the invitation to the new project.
- Team members can now install and launch MAXQDA 26.
- After logging into their MAXQDA account, the new TeamCloud project will be available.
MAXQDA 24 can now be uninstalled.
Please note. All team members must use MAXQDA 26 to open the new project. It will not work if some team members use MAXQDA 24 and others use MAXQDA 26. On your MAXQDA 26 start screen, you will only see MAXQDA 26 TeamCloud projects. This also applies to the list of TeamCloud projects accessible via the TeamCloud > Open Team Project menu.
Was this article helpful?
That’s Great!
Thank you for your feedback
Sorry! We couldn't be helpful
Thank you for your feedback
Feedback sent
We appreciate your effort and will try to fix the article
